Hello, this is DIY Renova!
Wooden houses are overwhelmingly popular among Japanese detached houses.It has been loved for a long time because of its durability and ease of repair, but as it ages, "deterioration and misalignment of the foundation and foundation" is unavoidable.In particular, after a major earthquake, there have been many cases where the foundation was floating or the anchor bolt was not found.This time, we will explain how to reinforce and remodel using "chemical anchors" which are effective in such situations, as engineeringly as possible, so that they can be carried out completely DIY.
This article carefully explains why the steps are necessary and why you choose the tool and size so that even beginners can understand.
So, here you go.
What is a chemical anchor?
Simply put, a chemical anchor is an "anchor bolt that is fixed with adhesive."While traditional anchors are fixed by mechanical force (e.g., expansion anchors), chemical anchors use resins that harden by chemical reactions to integrate concrete and anchor bolts.
Merits and engineering implications
- High pull-out strength: According to the JIS standard, M12 bolts can provide a holding power of approximately 15kN (=1500kgf) or more.This is overwhelming compared to typical expansion anchors (8-10kN).
- Can be installed at any location: The biggest advantage is that you don't need to use existing holes and can be installed in the ideal position.This is very important in remodeling.
- Less stress on concrete: The expansion anchor expands and secures the metal, which tends to pressure concrete and induces cracks, but chemical anchors do not apply pressure, making them easy to concrete.
What is needed for chemical anchor construction and why
Materials and tools list (with reason)
- Chemical anchor body (Cemedine, etc.): Choose a product that is quick-drying and highly durable for peace of mind.MU anchors etc.
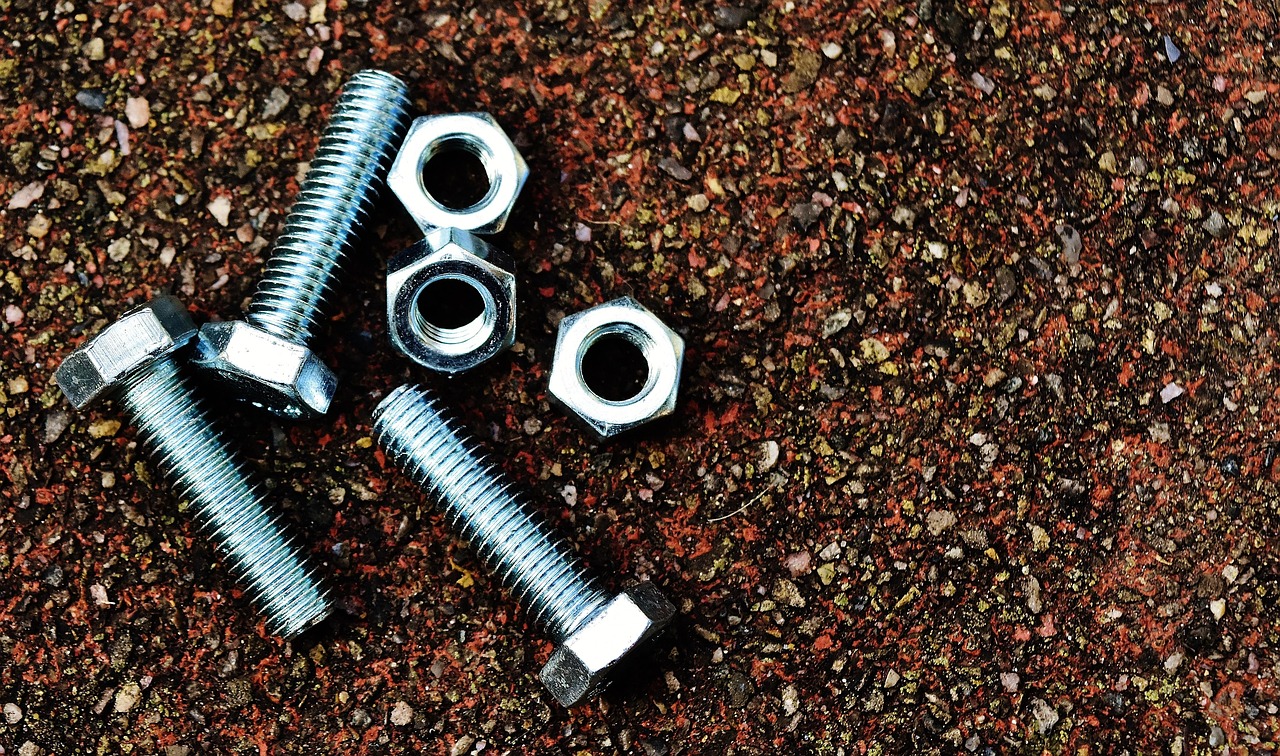
- Anchor bolt (M12 or M16): Determine the size by calculating backwards from the pull-out strength.At residential level, an M12 is often sufficient.You can buy it at Konan or something
- Bolt length (150mm to 250mm): The embedded part must be at least 100mm (JIS recommended).Includes base thickness, nuts and washer.
- Vibration drill (for concrete): Normal drills cannot shave concrete.A drill with a vibration function is required.
- Woodworking drill (φ12-14mm):This is the best base wood.Wood is elastic, so a diameter with a little room is desirable.
- Blower or air pump: The dust removal inside the hole is the key to the adhesion strength.If there is dust, the adhesive will not adhere to it.
- Injection gun: The chemical anchor is a two-component type, so it must be injected while mixing.
- Protective equipment (gloves, glasses, masks): As we handle chemicals, safety measures are absolutely necessary.
How to choose various things
I had a lot of trouble choosing it!!
That's partly because there was a lack of research..
When installing chemical anchors after DIY,Rather than the difference in the product itself, it is the most painful to mistakenly determine the size, specifications, and whether it is compatible when buying..
Here, when I purchase, I actually found out that I had returned or repurchased.Points to be aware ofHere is a list of them.
1. Overview of drill size and specifications
- ✅ Perforation diameter and depth specified by chemical anchorBe sure to check!
→ Example: For an M12 anchor, holes of ⌀14-16mm may be required. - ❗[Popular mistake] With commercially available vibration drillsDepth and torque shortage
→ If the perforation depth exceeds 100mm,SDS Plus compatible hammer drill is safe - ✅ Bit diameter and shank shape (SDS, hexagonal shaft, etc.) andDrill body compatibilityCheck it out!
2. Selection of diameter and length of bolts (steel rods)
- ✅ **"Recommended bolt diameter" and "Embedded length"** are specified for each resin capsule and injected resin.
→ Example: When using M12, the embedded length is generally 80-120mm (Note the product number) - ❗[Perhaps a mistake] There is not enough threaded part or too much to tighten the nut
→ Design by adding "effective screw length" and "extruding length" - ✅ Surface treatment (Uniqlo, hot-dip zinc, stainless steel)Use the right materials outdoors and indoors
3. Perforation cleaning brushes and blowers
- ✅ Choose a brush that matches the perforation diameter (slightly thinner than the outer diameter: 1-2mm)
→ If the hole is ⌀14mm, a ⌀12mm brush is OK - ❗[Perhaps a mistake] The brush handle is too short to reach the bottom of the hole
→ Choose a product with a length of 5cm or more - ✅ A manual blower is sufficient,The nozzle is long and narrow and securely sealedIdeal
Chemical anchor installation method: Detailed explanation
Pattern 1: How to drill holes in the wood on the base and then penetrate the foundation
This method is ideal for those who want to make the most of the foundation.
1) Determining the anchor position and inking
- Why is the 100-150mm range better?→ If it is too close to the edge of the foundation, the concrete will likely break, and if it is too centered, the adhesion between the foundation and the foundation will become uneven.Considering the balance of force and ease of installation, 100mm from the edge is the most stable.
② Pull holes in the foundation
- Reasons for using a φ14mm woodworking drill: → The M12 bolt has an outer diameter of 12mm, but the wood has some expansion and contraction depending on the moisture content and the fiber direction.By setting it to 14mm, it ensures smoothness during installation and room for adhesive to enter.
- Regarding depth: Base thickness + 100-150mm → If the base is normally 90mm thick, a minimum of 200mm drill is required.
③ Pull holes in the foundation
- Using the hole in the base as a guide, proceed with the drill as it is.
- The basic rule is to allow a hole in the concrete to be 10mm deep.→ The chemical anchor flows to the bottom, so there is room to make it easier for air to escape.
④ Cleaning holes
- JIS tests have confirmed that if dust remains, a gap will form between the resin and the foundation, resulting in a severe reduction in retention power.
⑤ Chemical injection and bolt insertion
- The golden rule is to inject from the bottom of the hole.→ By allowing air to escape upwards, adhesive is filled evenly.
- Insert while rotating: By tying the adhesive into the thread, the strength is dramatically improved.
reference
Muratakazu RE Home Channel: "[Suddenly] A house where the foundation and foundation are not connected...where is the anchor bolt? (Episode 3)"
Pattern 2: How to drill holes before the foundation (installation of the foundation later)
This is suitable for those who want to use a new foundation or ensure accuracy.
1. Pull holes in the foundation
- Ink directly onto the foundation and drill holes in the position as designed using a vibration drill.
- A depth of 150mm or more: This is the minimum line that meets JIS standards.
② Chemical injection and bolt installation
- Usually waits for 24 hours for curing.Adjusted according to the temperature, such as 12 hours in the summer and 36 hours in the winter.
③ Pull holes and install on the foundation
- The most precise way to mark using actual anchor bolts.
- To absorb some deviation, drilling holes with a bolt diameter of 1.5 to 2 mm is desirable.
reference
Carpenter Masayan: "[Super important] No house is built in a place where there is no foundation! The first carpenter work on the site will be laid down the foundation. [Season 3 - Part 1]"
Pattern 3: How to use a special anchor jig
This method is for intermediate and advanced users who are used to construction, but in the system it is the most ideal.
It's for advanced users, but simply the jigs (tools) are quite expensive, so I don't think anyone other than professionals need to carry it.It's heavy.
...I thought so, but it seems like there are drill guides like the ones listed below these days!If this is an environment that can be used, maybe I can use it?
procedure
- Position with a jig (anchor guide) → drill → injection → bolt → base installation
- The jigs can be commercially available (such as an Aika) or made by yourself.
Summary of how to choose each method
| Construction method | Suitable situations | Difficulty | accuracy |
|---|---|---|---|
| Pattern 1 | Utilize existing foundations | Inside | Inside |
| Pattern 2 | Base replacement and precision emphasis | Medium to high | High |
| Pattern 3 | Precision construction and experienced person | High | Very high |
Summary of points to note from an engineering perspective
- Holding force per anchor bolt: 15kN or more (1.5t) for M12, 20kN or more (2t) for M16
- Minimum embedded depth: 100mm (preferably 120mm or more)
- Concrete thickness: minimum 150mm or more required (as a foundation structure)
- Chemical usage time (time until curing after installation): Fast in summer and slow in winter (required product manual)
Finally,
Chemical anchors are easy to handle even when DIY, and are excellent technology that combines both freedom of construction and strength.Even if you've thought, "It looks difficult...", you should be able to do it surprisingly smoothly when you try it.
When renovating a wooden house, you can feel completely different from the "structure" when working on it.Try moving your hands while reading this article.Protecting your home is your first step.
If you're wondering "How much renovation or remodeling can I actually do on my own home?" or "Where should I even start?", please visit this page. If you're looking to learn more about specific renovation processes or construction details, don't miss this page as well!
Leave a Reply
You must be logged in to post a comment.