Hello everyone, I am Renova.
When you self-renovate, you can see how important it is to take the time and how much time you have to devote to it, in terms of sequence and planning.
In this article, we will assume the order of construction of a two-storey wooden building, in the hope that it will help those who need a little help.
Hope this will be helpful.
In particular, try using the table of contents as a checklist ♪
Planning and design

Planning and design also play a role in how quickly opportunities can be shortened, i.e. how few days of rental tools are needed... and this has a big impact on costs, so it is important to simulate this from a variety of angles so that as much as possible there is no backtracking!
We have a separate article on what performance characteristics to look for, which you can also read here.
Planning and design Rough simulation of the room from exterior to interior using Home by me, etc.
Home by me is a particularly recommended software application!
It is easy to use, even for beginners, and it is free (free of charge) and can simulate most light fittings, exterior walls and interior decorations.
This is particularly significant because the community already has a variety of furniture in place, so you don't have to rebuild it from scratch yourself.
The drawback is that only English and other UN languages have been implemented yet, and the size of furniture and other items may be too Western lol.
If you are thinking of a Japanese-style room, for example, it may be a little harder to simulate (but if you make it yourself, all is well!).
This is an application that you should try out once. I appreciate that it can be made to actual wall length and simulate the size of the room.
Determining the floor plan
Determine the floor plan as closely as possible.
Going backwards is the hardest part. Check that there are also structural load-bearing capacity issues.
The changes to the floor plan are major changes, so you need to consult with an architect if necessary. (Don't pull out the columns if you're doing it yourself!)
Use Sketchup and other tools to study the wood required for each room.
If you can use it, you can use CAD to design, but I tried to use Rhino and others, but it still takes forever to learn and do it in one hand....
If you only plan to do one house at the moment, you can do it through free apps/software such as Sketchup.
Having an overall blueprint makes it easier to consult with construction companies and timber dealers.
Preparation of wiring drawings
配線図面を作成してみましょう。
あるいは、電気工事士の方に依頼してみましょう。(実際に電気系の作業を行うには、電気工事士2種の資格が最低限必要となります)
電気・インターネットだけの配線ではなく、水系などの他のエネルギーの線も検討しておきましょう。
Quote/request for energy changes
電気ガス併用からオール電化にするなど、使うエネルギーを変更する場合はなるべく早く見積もりを取っておきましょう。
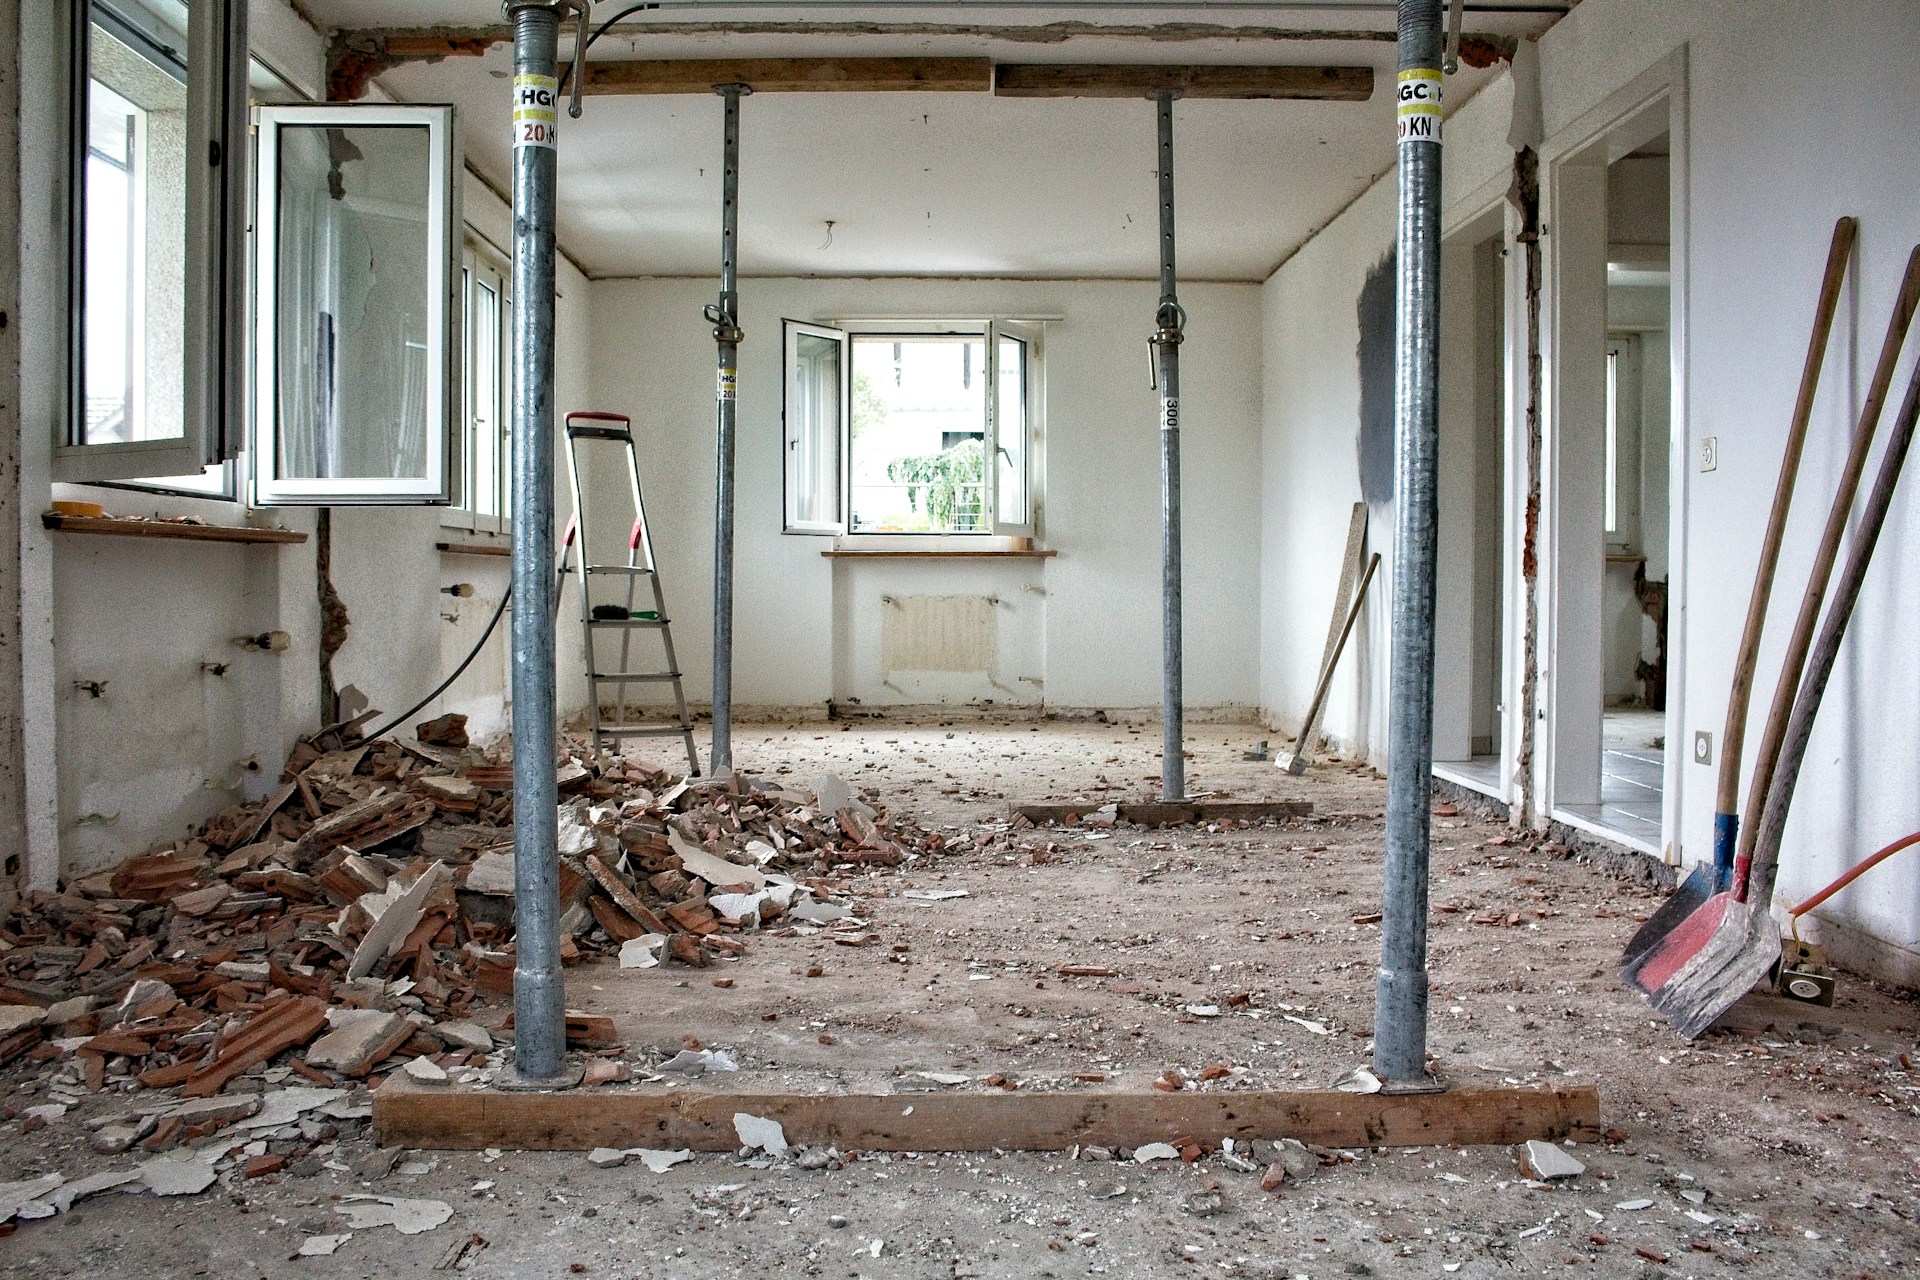
Demolition Demolition of skeleton
スケルトン、つまり最初は
少しずつ行う場合は改装する部分からスケルトンにしていきます。
Disposal of the minimum necessary amount of plants and trees in the garden and around the house.
Roof renovation
屋根のリフォームを行うならできるだけ一番最初に行いましょう!
屋根がないと、雨漏りしてしまうなど今後がとにかく大変なのでここは一番優先します。
なんなら、解体の前に屋根をやったほうがいいかもしれません。防犯上(工事中の家は空き巣とか足場があったりしてはいられやすいので気を付けるように!)
inking the outlines of a picture
すべて取り払われた何もない躯体とだけのスケルトン状態の場所に、設計・レイアウトに基づいて墨だし(寸法にあわせた割り付け)を行います。
Plumbing
Gas piping, electrical piping, cold and hot water piping
お部屋の専有部分の給水・排水・給湯の配管を先行して行います。水道メーターから先や床に埋まっている部分は共有部分なので変更することはできません。
水道以外にも基本的な電気配線、排煙ダクト、エアコンの先行配管、LANや弱電の配線もこの段階で配慮しておかなければなりません。
ここのところがスケルトンリフォームのいいところでしょう。部分リフォームよりコストも手間もかかりますが、普段目に見えない老朽化していたライフラインを新品に更新できるからです。
このような配管・配線の材料や器具は非常に進歩して、いいものがでているので、新しい性能の良いものを使用することが大切です。
断熱材などはいっていない段階が一番いいですが、
kitchen plumbing
ガスを使用しているキッチンの場合は、ガスの配管をチェックする必要がありますね。
bath
お風呂の配管はお湯と冷水と電気、追加で必要に応じてガスもありますね。
エコキュートなどのオール電化のおうちの場合は、オール電化の配置も行わなければなりませんね。
toilet
トイレは冷水だけで十分だと思いますが、必要な場合は温水の導入も検討が必要です。
washbasin
洗面台を最近は玄関に着けるパターンも数多くの施工例で拝見します。
そういった場合は、そちらにも忘れずに!
Partitioning and groundwork

間取りのプランに従って、下地や間仕切りを行います。
設備機器のうちユニットバスだけはこの段階で組み立ててしまいます。
Add additional columns here if the floor plan is to be changed.
柱を必要に応じて加えましょう。
Seismic reinforcement with steel in each corner.
昔の家の場合、多くの場合は耐震補強がなされていない在来工法で建築されています。
金具などを利用して耐震補強を行いましょう。
External wall renovation
スケルトンリフォームの場合、外壁の工事は一般的に以下のようなタイミングで行います。スケルトンリフォームは、建物の構造を残して内部をほぼ全面的に改修するので、構造の安全性と工事効率を考慮した順序が重要です。
外壁の工事のタイミング 内部解体後、構造補強が終わった段階
最初に、内部の不要な壁や仕上げ材の解体を行い、構造材のみを残します。この段階で必要に応じて構造補強を行い、建物全体の強度を確認します。 特に耐震補強が必要な場合は、このタイミングで柱や梁の強化を行います。建物の安定性が確保された段階で、外壁の工事に移る準備をします。 外壁の下地工事と防水工事
構造補強が完了したら、外壁の下地作りを行います。ここで防水シートの設置やサイディングの張り直しなど、外壁を保護するための防水工事も同時に行います。 このタイミングで、防水性や断熱性を強化するために、断熱材を追加することもあります。 内装仕上げと並行して外壁の最終仕上げ
内部の配管・配線工事や内装仕上げのタイミングと並行して、外壁の最終仕上げ(塗装やタイル張りなど)を行います。 最後の仕上げ段階で、外壁の見た目を整え、リフォーム全体を完成させる準備を整えます。 注意点 防水性の確保: 外壁の工事では防水性を特に重視する必要があります。内部の解体後にすぐ防水対策を行い、建物の構造が雨風で劣化しないようにします。 構造安全性の確認: 外壁の補修や仕上げは構造補強が終わってから行うのが一般的です。構造部分が安定してからでないと、外壁にひび割れや歪みが生じる可能性があるためです。 この流れで外壁を施工することで、建物の強度と美観を確保しながら、効率的なリフォームを進めることができます。
insert insulation
Interior walls, floors and exterior walls
Putting a moisture barrier sheet over the insulation.
drainspout
外壁が出来上がったらなるべく早いタイミングで雨どいをつけましょう。雨どいというのは、雨がしっかり流れてほしい場所に土地に水を落としてくれるパイプみたいなものですね。
高くても大体2万前後でできちゃうのでやっちゃいましょう!
施工する場合は勾配を付けるのを忘れずに。出ないと、水がうまく流れなかったりします。
interior
外装と内部の最低限の断熱材などの施工が終わったらやっと内装をやっていきます!
Installation of equipment and appliances
キッチンやサニタリー、トイレなどの設備機器を取り付けていきます。ドアやクロゼットの扉なども建てつけます。エアコンや照明器具、カーテンも取り付ければ、スケルトンリフォームも完成に近づきました。
Construction completion inspection
設計・プランニングどおりできているかどうか、お客様立ち合いのもとで検査します。
万が一不良個所があればチェックして手直しします。また取り付けた設備機器がしっかり稼働しているかどうかも点検し、お客様に使い方やメンテナンス方法を説明します。
Garden

庭があり、施工したい場合はタイミング的に一番最後に行いましょう。
駐車場なども一番最後で大丈夫です。なぜなら、これは検査などされませんから!笑
Conclusion
How was the article?
こんなものも考慮するべき・しておいたほうがいいということがもしありましたら
別途ご教示いただけると幸いです!
See you in another article.
If you are interested in DIY, please click here to find other articles and more.
Well, then!


Leave a Reply
You must be logged in to post a comment.