Hello everyone, this is DIY Renova.
Some people may be thinking of explosively demolishing the ceiling, such as renovating second-hand properties or redecorating to take advantage of the atmosphere of the old house.
However, in order to dismantle the ceiling, in addition to a considerable amount of heavy work, it is necessary to take safety into consideration from an engineering perspective.So this time, we have put together a detailed summary of the methods and procedures for ceiling demolition that even amateurs can do, as well as points to be careful about, and tools necessary, with the aim of each of the "Japanese-style rooms with wooden buildings" and "Western-style rooms with wooden buildings."
Please feel free to use this as a reference.
So, here you go.
1. Basic steps you should know before dismantling the ceiling

When demolishing a ceiling, first make sure you understand the following steps in detail.
- Checking ceiling structure and finishing materials
- The finishing material and base structure differs between Japanese and Western-style rooms.Find out in advance what's in the attic, where the wiring and piping are located, whether there is insulation, and whether there is any impact on the beams and huts.
- If you have a drawing of the house, you can rest assured that you can check it out once before demolishing.
- Safety measures and environment creation
- It is important to ensure protective equipment and scaffolding, as dust, nails, and wood chips will scatter.
- We take measures such as covering indoor furniture and floors with protective sheets and placing vinyl sheets to prevent dust from flying into the next room or outside.
- Image of how to remove ceiling materials
- You can use dismantling tools to peel off the ceiling material one by one, or break a certain width while proceeding.
- In Japanese-style rooms, if the ceiling is open-marked, the boards are often carefully removed one by one.If the board ceiling is in a Western-style room, it may not come off unless you break the plasterboard.
- Disposal of waste materials after dismantling
- There is more scrap material than you might expect from demolition.Gypsum boards in particular can be difficult to dispose of as general waste, and may need to be disposed of as industrial waste.Check with your local government or contractor.
- Pay attention to the next process after dismantling
- The subsequent construction plans will also change depending on whether the ceiling will be demolished and left in a skeleton state, or whether the ceiling height will be changed and re-stretched.If you think about the next steps in advance, such as wiring handling and reuse and replace insulation, you will be able to proceed with the work in a well-planned manner.
2. Things to be careful about when dismantling the ceiling
2-1. Be careful of damage to structures
Under the ceiling there are structures such as wild edges and beams.Damage to the ceiling materials when peeling them off can affect the strength of the home.Be careful not to drill large holes in the wood or grind them with power tools.
2-2. Handling of electrical wiring and piping
The attic may have wiring for lighting, air conditioners, and in some cases pipes such as exhaust ducts.
- Drop the breakerIf you accidentally cut the wires while working, there is a risk of electric shock or fire.Be sure to drop any breakers related to the work area before dismantling.
- Be careful of damage to pipesDamage to the pipes can lead to serious problems such as water leaks and gas leaks.Work in places that are difficult to see with particular care.
2-3. Countermeasures against dust and waste materials
If you break plasterboard or wood, a large amount of dust will be generated.In older homes, there is also a possibility that asbestos is used in spray material.If you suspect a risk, ask a professional to investigate and remove it.Even if it's possible to use DIY, alwaysDustproof maskEquip yourself with goggles and gloves, and protect your skin with long sleeves and long pants.
In addition, in order to smoothly dispose of the waste material, make efforts to secure work space by frequently placing it in garbage bags and containers while dismantling it.
2-4. Safety of high-altitude work and scaffolding
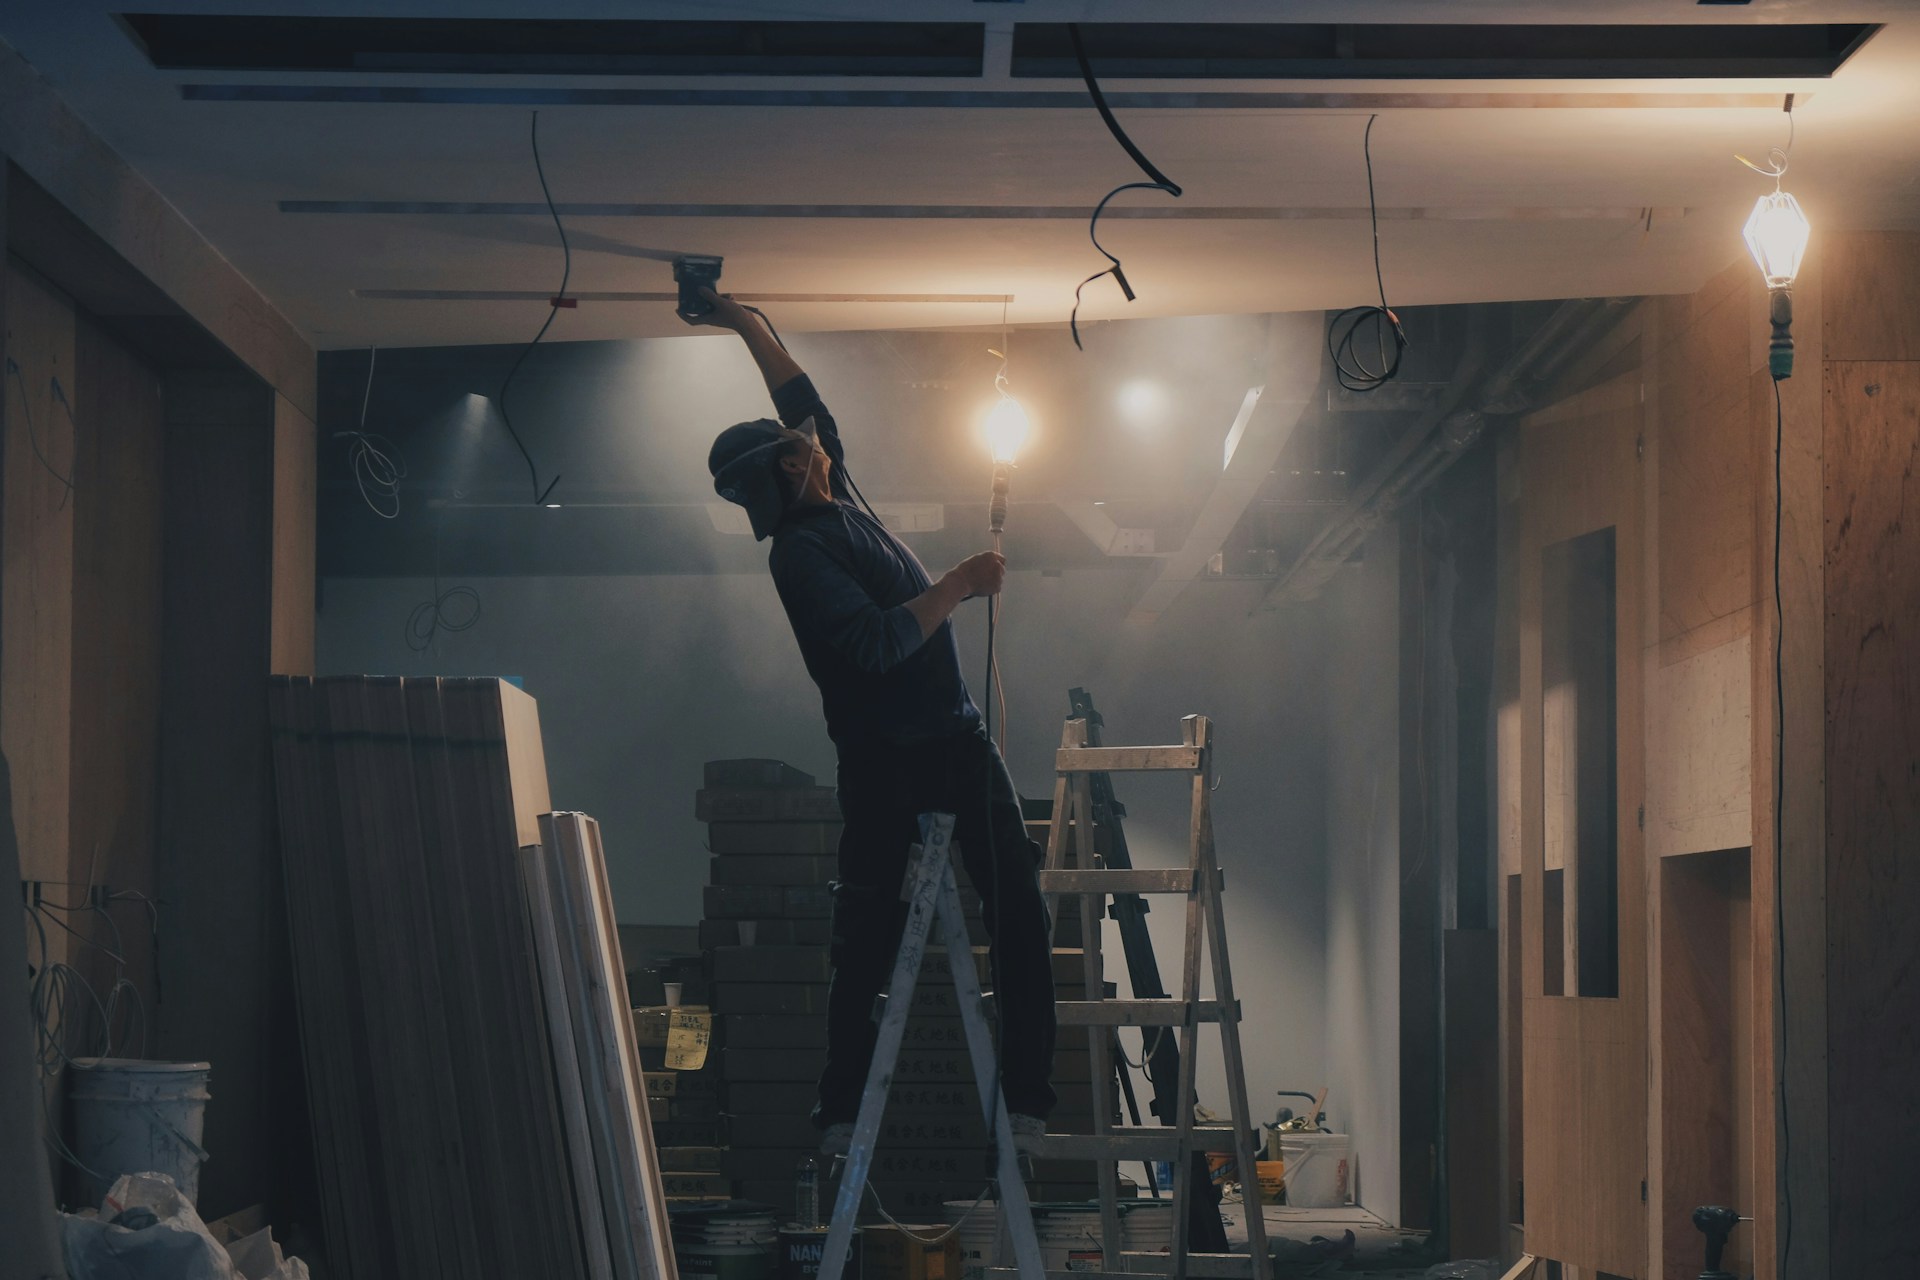
When demolishing the ceiling, you will need to do more work by riding a stepladder.If you're not used to it, you may lose your balance and risk falling.Use a sturdy stepladder, and if possible, use scaffolding boards or other devices to ensure stability.Additionally, working together with two or more people to make mutual confirmations makes it easier to prevent accidents.
2-5. Noise/Neighborhood trouble
The work of demolition of ceilings involves some noise.If you ask your neighbors in advance to DIY dismantle the ceiling on ○○ day, you can avoid any problems that arise later.
3. Tools needed to dismantle the ceiling
- Gloves and work gloves
- It is essential to avoid getting injured in thorns, nails, or sharp areas.
- Dustproof masks and goggles
- Use protective equipment to prevent dust and wood chips from getting into your eyes or nose.
- Helmets
- Protect your head and cover it in anticipation of falling objects or falling over.
- Stepladders and scaffolding boards
- A tool that is easy to reach the ceiling and allows you to work safely.Always choose a stable one.
- Bar/Demolition Hammer
- It is used to pry or pull off ceiling materials.
- Electric screwdriver/impact screwdriver
- Convenient for removing the part where the screws are stuck.
- In particular, plasterboards in Western-style rooms are often screwed.
- Saw Saw Saw
- In some cases, this is necessary to separate the ceiling board.
- Pliers and Nippers
- It is useful when removing nails and screws, or tying the wires together.
- Protective sheets, garbage bags, duct tape
- Make sure to prepare plenty of sheets to protect floors and furniture, as well as large garbage bags and duct tape to keep your waste materials together.
- Lighting (headlights and work lights)
- If the attic is dark, it is necessary to ensure that your hands are lit up well.
4. [Japanese-style room] How to dismantle the ceiling

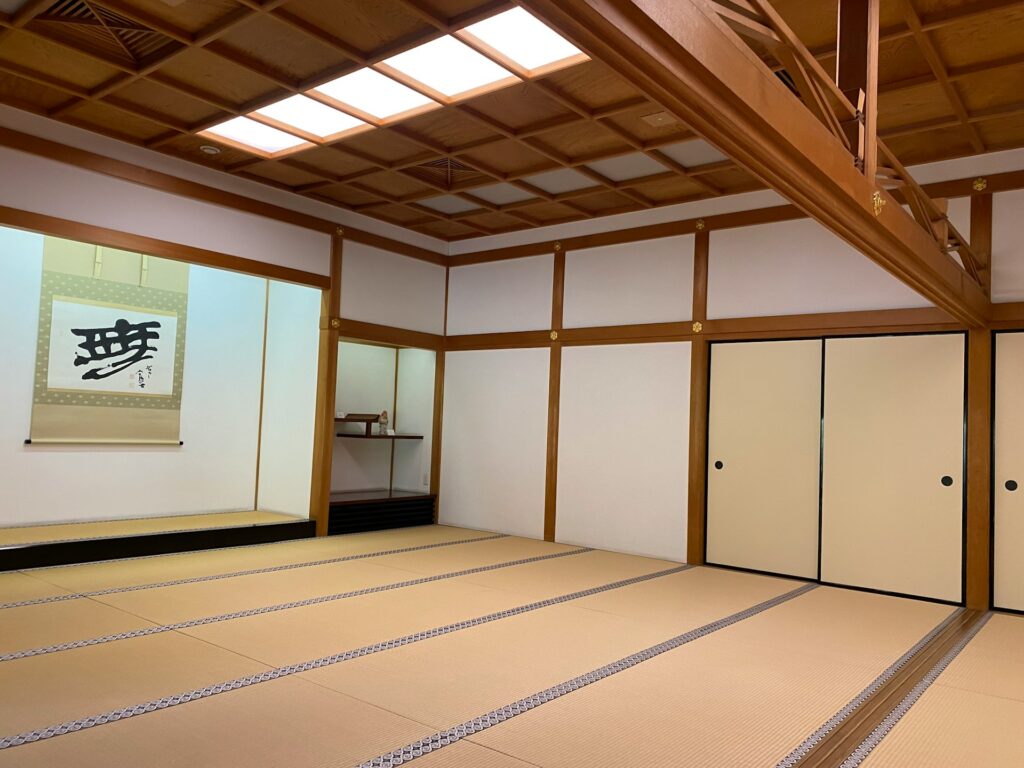
Here, the old fashionedJapanese-style room ceilingThis article is explained based on the assumption that it is open-marked ceilings and veneered boards.Most Japanese-style rooms have a structure in which boards and veneered plywood are fastened to thin slats.
4-1. Preparing the work environment
- Protecting furniture and tatami
- If there is tatami mat, a thick protective sheet is laid over the tatami mat.If you can temporarily carry the tatami itself to another room, that's the best.If not, make sure to protect it from scratches or dirt.
- Prevent dust from surrounding areas
- In Japanese-style rooms, if you have sliding doors or shoji screens, removing them not only will your work space expand, but it will also prevent dirt.
4-2. Check the attic situation
- If there is an inspection port, check first
- If there is an inspection port on the ceiling, use a light to look inside from there to check the location of wiring, pipes, and beams.
- Drop the breaker
- It is likely that the wiring for the lighting is in the attic, so be sure to turn off the breaker before dismantling.
4-3. How to peel off the ceiling board
- Remove from the edge little by little
- Use a crowbar or flathead screwdriver to slightly lift the edge of the ceiling board.In this case, check how often the screws and nails are being cast on the base.
- If the material is fastened with a nail, use a crowbar to pull it out, or use an impact screwdriver to remove it, it will be easier to organize the scraps by proceeding to avoid damage.
- Peel off the ceiling boards one by one
- The ceiling boards in Japanese-style rooms are often lined up sideways, so it's easier to remove them from the short side.
- If the board is narrow, remove it patiently.
4-4. Removing the base
- If nobuchi remains
- Once you remove the ceiling board, you should see thin square timber (wild edges).From now on, depending on your plans, such as setting up a new ceiling or raising the ceiling height, we will decide whether to leave the wild edge or remove it.
- If you want to remove it, check the nails and screws.
- It is held up with nails and screws, so remove each one using a crowbar or impact driver.It will take a long time, but work carefully so that it does not damage the beams and girders that form the skeleton of the building.
4-5. Organizing after dismantling
- Separate and dispose of waste materials
- If there is a mixture of wood, metal (nails and screws), plasterboard, or insulation, it must be separated according to the local government's rules.
- Cleaning up dead dust and insects in the attic
- The attics in Japanese-style rooms are surprisingly packed with dust and insects.Once disassembly is complete, clean it thoroughly with a vacuum cleaner or broom to prevent the growth of mites and mold.
5. [Western-style room] Ceiling demolition procedure

next,Western-style room ceilingWe will explain how to dismantle the product based on the assumption that it is (such as plasterboard finishing).In most cases, modern homes or renovated homes are finished with plasterboard or plasterboard.
5-1. Preparation and points to be careful about
- Curing and dust control
- When plasterboard is broken, a large amount of dust will be generated.Not only should you protect your walls, floors, furniture, etc., but you should also place plastic sheets at the entrances and exits of the demolition area.
- Wear protective equipment such as dust masks, goggles, earplugs, etc.
- Check the location of electrical wiring and downlights
- Western-style rooms often have downlights, recessed lighting, and air conditioning pipes.Check any drawings if there are any areas that are likely to be cut during disassembly.
- [Translation Failed]
- Always drop the breaker as there is a possibility that the wiring may be accidentally cut during work.
- For dismantling plasterboards, it is convenient to have a saw or a saber saw in addition to a crowbar.
5-2. How to remove the plasterboard
- How to split it off the edge
- The plasterboard is fastened to the wild edges and studs with screws.First, place a crowbar on the corners of the ceiling and lightly tap it to split it.After that, once you have a hole that can be inserted into your hands, you can gradually expand it.
- How to remove the screws carefully
- If you are thinking of reusing it (plasterboard is difficult to reuse, but you don't want to damage the back frame), find the screw head, remove the screws with an impact screwdriver, and then remove the board, so it will be less likely to put a strain on the base.
- Beware of large pieces
- If the plasterboard collapses widely, it may fall off at your feet or damage the surroundings.It's safe to split frequently and remove them little by little.
5-3. Handling of base materials (no-rims and no-rims)
- Depending on future renovation plans
- If you want to increase the ceiling height, you will need to remove the entire area.Conversely, if you are replacing a new plasterboard at the same height, you can leave the wild edges in good condition.
- Notes when removing
- Just like the Japanese-style room items, the base material is fixed with nails and screws.Carefully remove the beam using a crowbar or impact screwdriver to avoid damaging it.
- If you have insulation, consider storing and disposing it according to your plan, whether to reuse it or to place a new one.
5-4. Disposal of waste materials and cleaning
- Gypsum boards are often industrial waste
- Some local governments and businesses collect household waste, but in general, they are usually treated as industrial waste.It is recommended to research the disposal costs in advance and ask a contractor to do so.
- Minimize dust diffusion
- After dismantling, the product will be cleaned in detail and thoroughly absorbed any plaster powder that has risen.Use a vacuum cleaner or a water wipe to prevent dust from shaking again.
6. General work advice and Q&A
Q1. I want to dismantle the ceiling and show the beams, but is there any problem with earthquake resistance and insulation?
- A. The "arawashi" finish, which removes the ceiling and shows the beams, is popular, but it can be a disadvantage in terms of insulation and sound insulation.Also, depending on the load condition of the roof on the beam, there is a possibility that the roof may have been reinforced to some extent by the wild edge or ceiling.Be sure to consult with an expert (architect, etc.) to make sure you do not weaken the structure on your own judgment.
Q2. Maybe there are asbestos in the attic... what should I do?
- A. In old houses, asbestos was used as insulation and spraying materials.If there is a suspicion that it contains asbestos, it is dangerous for an amateur to dismantle it without permission.Ask a professional to investigate and get the appropriate treatment done.
Q3. Should I create a new ceiling immediately after demolition?
- A. Wiring and pipes are often exposed in the attic, so if left as they are for a long time, dust and moisture problems may occur.Extreme temperature differences in summer and winter can cause poor insulation performance and increase utility bills.It is safer to finish the ceiling as soon as possible, or to add insulation to cover it simply.
Q4. Can I do electrical work myself?
- A. In Japan, if you are not qualified as an electrician, the work of establishing or changing indoor wiring is prohibited by law.There are some areas where you can DIY simple tasks such as replacing lighting fixtures and outlets, but if you are trying to mess with the wiring in the attic, it is generally safer and more secure to hire an electrician.
7. Summary
At first glance, demolishing the ceiling through self-renovation may seem difficult, but if you firmly grasp the correct procedures and safety measures, you can completely change the atmosphere of your home while experiencing the joy of DIY.
- Japanese-style room ceiling dismantlingThis often involves removing each board, which is a surprisingly patient task.Old Japanese-style rooms are filled with dust, and nails and sashes are intricately combined with the careful work of old craftsmen.Work with care and loving.
- Demolition of Western-style room ceilingIn this case, the main focus is on breaking the plasterboard, which makes it easier for a large amount of dust and waste materials to be released.The key is to not only protect against dust masks, goggles, and earplugs, but also consider the steps to set up noise and disposal of waste materials in the vicinity.
Things you should be aware of in commonIt involves not damaging the building structure, not accidentally cutting electrical wiring or pipes, stabilizing the scaffolding to avoid injury, and properly disposing of waste materials.In addition, you may find the condition of the house (such as corrosion or termite damage) that you can only understand after demolishing it.In that case, consult an expert early and take measures before the damage spreads.
Finally, one more thing is the basics of DIY: "Don't overdo it" and "Safety is the number one priority."As there is a risk of working at high altitudes and heavy objects falling, be sure to prepare yourself in perfect condition, such as by doing it with two or more people, or consulting a professional before the work.Self-renovation has the wonderful advantage of being able to "become attached to your home as much as you do it."Make sure to take steps one by one and proceed with DIY safely and fun.
If you're wondering, "How much renovation or remodeling can I actually do on my own home? Where should I start?" check out this page. Additionally, if you want to learn more about specific renovation processes and construction details, be sure to visit this page! I'll continue updating with useful information on renovations and DIY projects, so stay tuned!
This completes the overview of "self-renovation, how to dismantle the ceiling and what to be careful about."Have you been able to imagine the characteristics and precautions of Japanese-style and Western-style rooms, as well as the tools and working procedures you will need?Even amateurs can take the challenge by not neglecting preparation and knowing where to pay attention.We are rooting for your renovation projects to work out!First of all, safety is your priority, so don't rush and proceed carefully.


Leave a Reply
You must be logged in to post a comment.