Introduction
hello everyone.This is Selfrenova.
This time, I would like to summarize the theoretical backgrounds of how to remove tatami mats, such as "how to prepare," "what steps should I proceed to be safe and efficient," and "Why is this work necessary?"We are planning to use a maximum of two-story wooden houses, but we think it will be useful for any type of home.We will explain in detail the process of finally removing the tatami mats and completing the disposal, so please take a look until the end.
Why do tatami mats need to be removed?
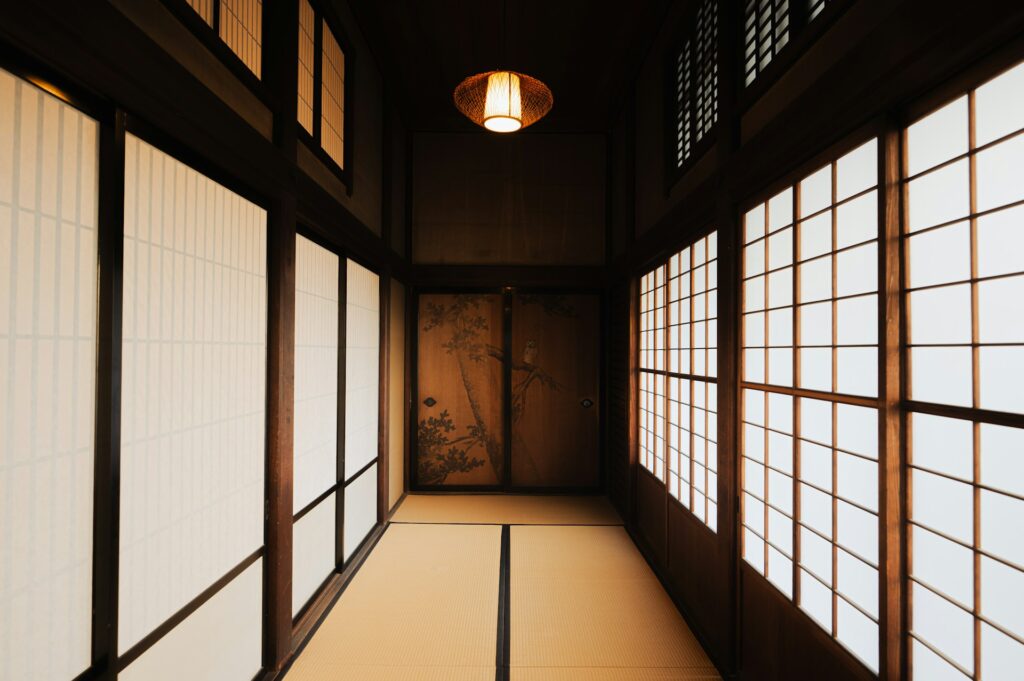
There are many reasons to remove tatami mats.For example, the following are typical cases:
- I want to renovate or redecorate my flooring
- The tatami mats are getting old, and I'm worried about the growth of mites and mold.
- The floor needs to be inspected and reinforced, and tatami must be removed
Tatami flooring is originally a flooring material that has many advantages, such as insulation, sound absorption, and soundproofing, but if used for a long period of time, it is more likely to cause sagging, moisture, and insect damage.In wooden houses, removing the tatami mats allows visual inspection of the rough floors and joists on the base, making it an opportunity to be the first to notice the aging of the building.
Complete picture of preparation and work before removal
The rough work process is
- Prepare the necessary tools and materials
- Check the condition of the tatami and decide on the work
- Divide tatami mats to make them easier to cut and transport
- Check the condition of the underfloor (ragrant beds and joists)
- Choose a method of disposal of tatami mats and take them out
When performing these steps, it is important to take safety and hygiene into consideration.In particular, you need to be careful with masks and ventilation to avoid inhaling dust, dust mites, mold spores, etc. from old tatami mats.
Tools and materials needed
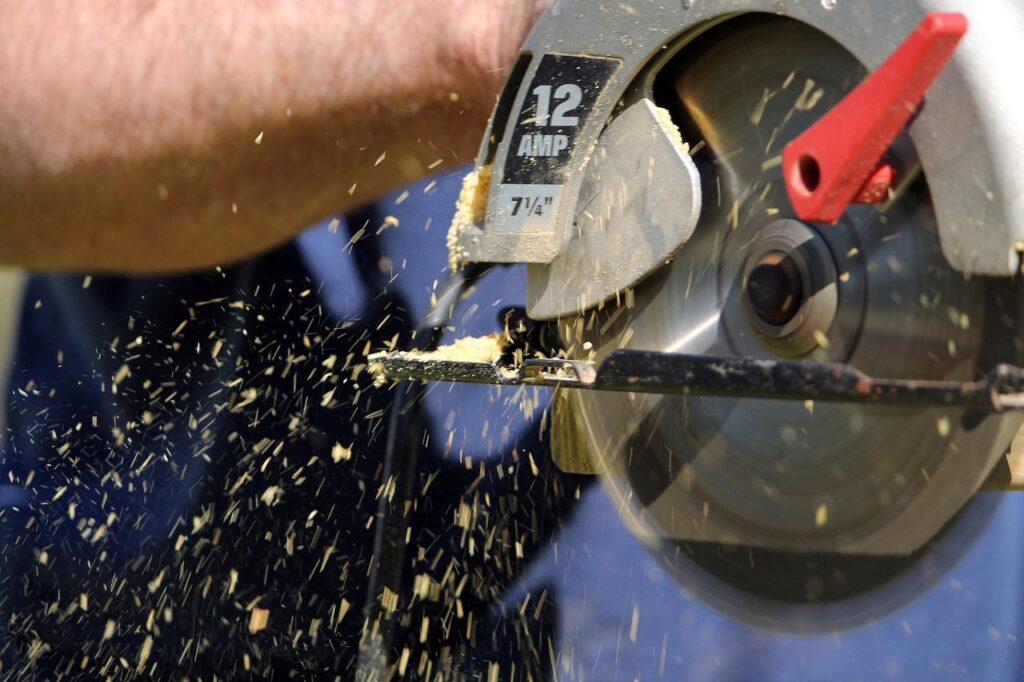
Tools and equipment
- Protective equipment such as masks and goggles
(To prevent the dust, dust mites and mold spores from old tatami mats from being sucked in) - Work gloves (easy to carry if they have anti-slip)
- Long sleeves, long pants, shoes
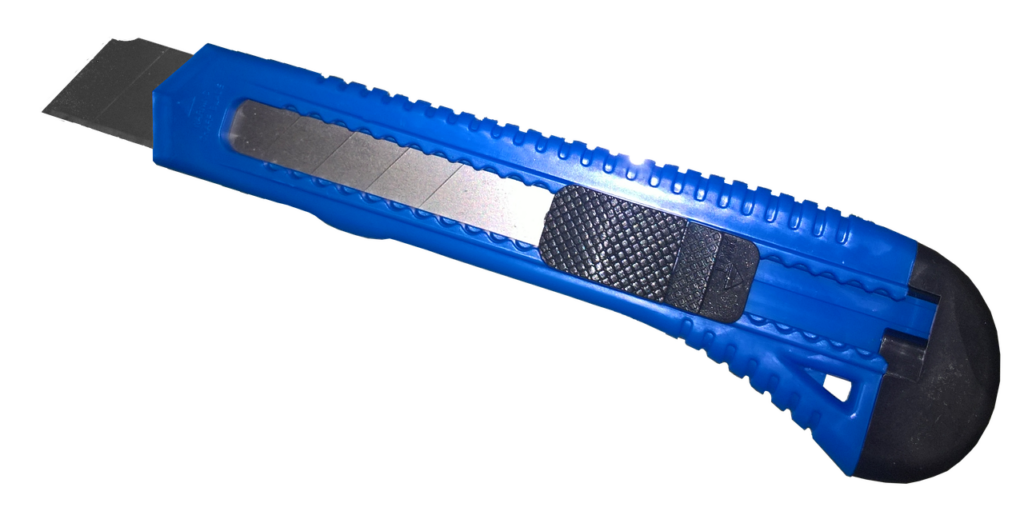
(In case the edge of the tatami mat is surprisingly sharp or an old nail appears) - Cutters and saws
(It is useful when cutting tatami mats with thread and rush tangled. It is convenient to have more replacement blades for the cutter. - Electric circular saws, electric jigsaws
(It is effective when you want to quickly cut artificial tatami mats or board-based flooring materials. However, if the thread gets tangled, the blade will likely stop, so checking is necessary frequently. - Strings, cable ties, large plastic bags
(To make it easier to transport the cut tatami mats together) - protective sheet
(Place dust and chips do not spread to the floor or walls to make cleaning easier if you lay it in the entrance or hallway of the room.)
Tatami removal procedures and theoretical background
1) Check the condition of the tatami
Before removing the tatami, tell if the tatami surface is a rustic or chemical material, or if the tatami floor is straw floor or urethane foam.This identification is important because it changes the cutting method and ease of cutting.Igusa and soft grass tend to get tangled, so using power tools can easily cause teeth to clog.On the other hand, with artificial tatami, power tools can be used relatively smoothly.
2) Health care and safety management
The removal process will cause a large amount of dust and dirt to appear in the room.Therefore, laying protective sheets at the entrances and exits of the room and corridors will help prevent dust and chips from spreading.Wearing masks and goggles is to reduce the risk of inhaling fine particles such as mold, mites, and dust that lurk inside tatami mats.
3) Cutting and dividing tatami mats
(1) Tatami made of artificial materials
- If you use a cutter to make cuts in the four corners, it will be easier for circular saws or jigsaw blades to fit in.
- Dividing one tatami mat into two or four pieces makes it easy to transport, making it easy to carry and easy to dispose of it into general and large trash.
- If the rotation speed during cutting is too low, threads and resin may become tangled, so work slowly and not to apply too much force.
(2) Traditional Igusa tatami (straw floor and foam floor)
Dividing tatami mats into smaller pieces makes them easier to transport and offer more options for disposal methods.Below is a summary of the main methods.
- Basically, it's cut into pieces as is.The tatami mat (spirit) is woven very sturdy, and the thread part is particularly difficult to cut.First, make small cuts on the edge of the tatami with a cutter, and then use a hand saw to divide it all the way to the base.
- If only the tatami mat is naturally turning part of the tatami mat, you can slowly pull that part with your hand and try peeling it off.However, the threads of old tatami mats are tightly intertwined and do not easily peel off.If you force it off, it may cause you to get injured or your hands, so it is generally safer to cut everything together.
- Cut into 6 equal parts to make it easy to put in a garbage bag by a local government.Once the thread is tangled and the saw blade stops, remove the blade and separate the thread with a cutter before continuing.This is a theoretical measure to prevent cutting efficiency.
Reference:
Another option is to disassemble it using just a cutter.This is actually a method for professional tatami-mat shops to handle it, and I think this would be the best option if possible, but it takes quite a long time and the amount of garbage can be enormous.But try it at least once!
Reference:
4) Tatami removal
Tie the cut tatami tightly with strings or cable ties, or place them in a large bag to make them easy to carry.Especially when removing tatami mats from the second floor, it is safe to protect key areas in advance so that they do not damage the walls, handrails, or stairs.In order to reduce the load burden, it is less likely to cause accidents if multiple people work.
5) Inspection of underfloor (ragrant beds and joists)
Check that there are no corrosion or termite damage to the rough beds and joists after removing all the tatami mats.The advantage you can discover here is that you can deal with problems related to building durability early.If the floor is shaking or the nails or screws are loose, repairing it immediately will prevent the floor from squealing after renovation.
How to dispose of tatami mats
1) Local government garbage collection
Depending on the local government, whether tatami mats are treated as burning or bulky waste.If you check the website in advance and follow the size and number of sheets, you may be able to reduce the cost of disposal.If you cut them into small pieces to fit a garbage bag, there are areas where you can take out combustible waste, so be sure to check them out.
2) Requests from tatami mats and renovation companies
It's expensive, but you can be left to all the laborious demolition and transport.There are many disposal costs ranging from several hundred to several thousand yen per piece, and this varies depending on the area and number of pieces.If you call in advance, "Can I just ask you to remove and dispose of the tatami mats?" or "How much does it cost?", they will be given an estimate.If you receive a proper estimate and receipt, you can avoid any problems later.
3) Carry it in and take it to the disposal site
If you bring the product directly to a local government or private incineration facility, a disposal fee in units of weight may be incurred.Each tatami mat is about 15-20kg, so in some cases it can be disposed of for around a few hundred yen.It's a hassle, but if you dispose of a large amount of tatami mats, it can ultimately be cheaper.
Frequently asked questions and troubleshooting
- When I cut out the old tatami, I found a smell and insects.
Old tatami mats may have mites and mold hidden in them.The cut cross section may give off a unique smell, so be sure to wear a mask and open the window to ensure ventilation when working.Prepare deodorizers and insect repellent sprays to reduce discomfort. - I want to reuse tatami mats
Some people cut clean areas into small pieces and reuse them as mats or cushioning materials, but due to the risk of insects and mold, sufficient drying and disinfection is required.When reusing, be careful about hygiene, such as exposing it to sunlight. - A half-sized tatami mat has appeared
There may be tatami mats of special shapes and sizes due to past renovations and expansions, but in the end, it is fine to cut them to a specified size when disposing them as garbage by local governments.It doesn't matter where you cut it, so it's easier to dispose of it by cutting it into easy-to-handle rectangles or squares.
Summary: Steps and key points for removing tatami mats
- Before removing, check the type of tatami and housing structure and prepare safety equipment.
- Lay a protective sheet and take care not to spread dust or chips.
- Cut tatami mats with tools suitable for each type to ensure work efficiency and safety
- When unloading, multiple people will work to prevent damage to the walls and stairs, and carry them down especially carefully on the second floor.
- Once the tatami mat is removed, inspect the rough floors, joists, insulation materials, etc. under the floor, and repair them as soon as possible if there is a damaged area.
- Check the local government's rules for how to dispose of tatami mats, and consult with the tatami store or contractor if necessary.
Conclusion
So far, we have introduced the necessary tools and the theoretical background of the work, from removing tatami mats to disposal.Tatami mats do not support the structure of the house itself, but inspections of the floors as they are removed also provide an opportunity to know the health of the house.
It's a hassle to do everything yourself, but it can reduce costs and give you a sense of accomplishment in the work.Of course, if you want to save time and effort, you can also choose to hire a tatami mat or a contractor.We hope you will choose the best method that suits your work style.
Now, I hope that your self-renovation will continue to be more comfortable.Next time, we will be posting information about renovations and DIY, so please look forward to it.

Leave a Reply
You must be logged in to post a comment.